
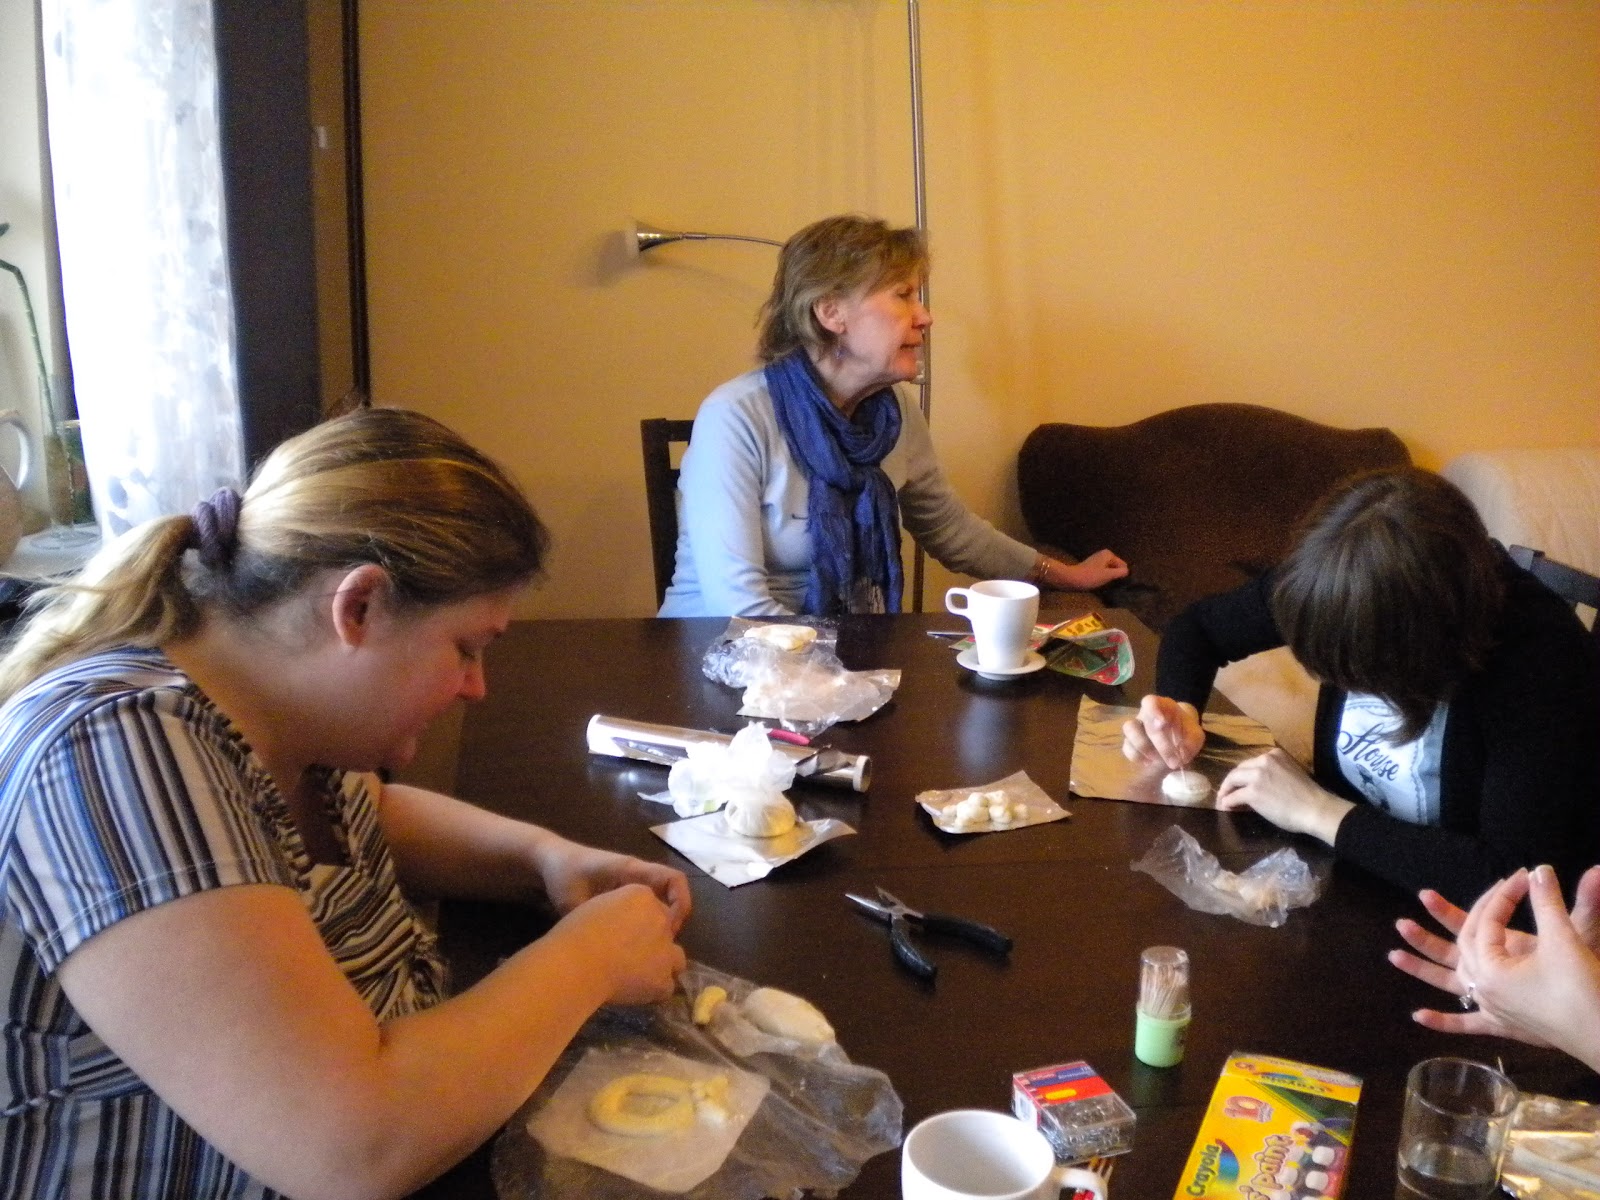
When we were stationed in Spain, the squadron used to deploy to Turkey for a month at a time, and since there were three squadrons, it happened every third month. You can imagine the toll this could take on families and morale. It was the squadron commander’s wife’s job to keep all of the pilots’ wives left behind occupied and entertained. The schedule of potluck meals, trips, and activities planned was referred to as our “Turkey Calendar.” (In the 1980s, our fighters pilots were all men.)
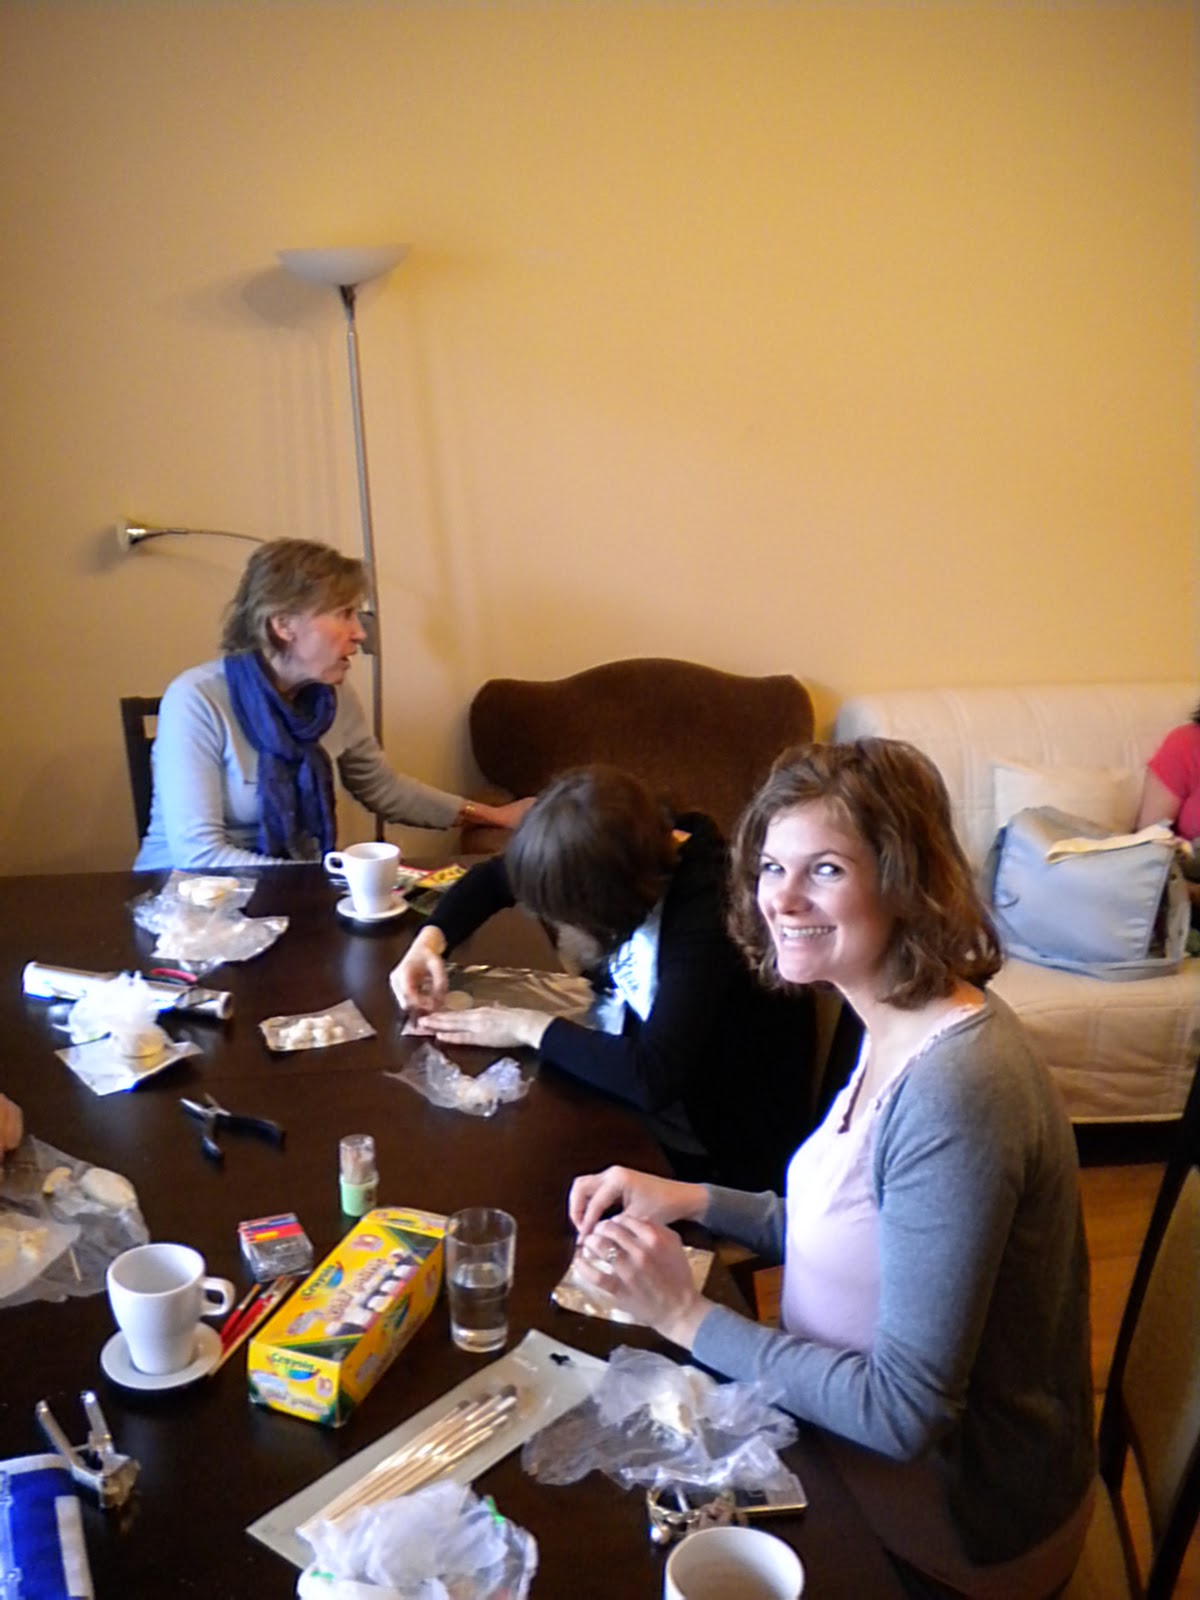
During a December Turkey Calendar thirty-one years ago, the commander’s wife invited us to her home to make Christmas ornaments – bread dough ornaments to be exact. Those ornaments still hang on our tree every year. It was a fun day and something that I’ve done again over the years, with our daughters, and today with the ladies from my Bible study group.
Ingredients
for dough:
2 cups flour
1 cup salt
1 cup water, approximately
for assembly and finishing:
plastic wrap
aluminum foil
toothpicks (to add texture and patterns to dough)
garlic press (for making hair, etc.)
paperclips and wire cutters
watercolor paints and brushes
Sharpie pens (optional – for very fine detail)
Clear spray sealant
Directions
- to make the dough:
- Combine flour and salt
- Add just enough water to form a dough
- Kneed the dough to work in a little more flour – just to the point where the dough is no longer sticky. The dough should be soft, not stiff.
- Keep the dough wrapped in plastic to keep it from drying out.
- to make the ornaments:
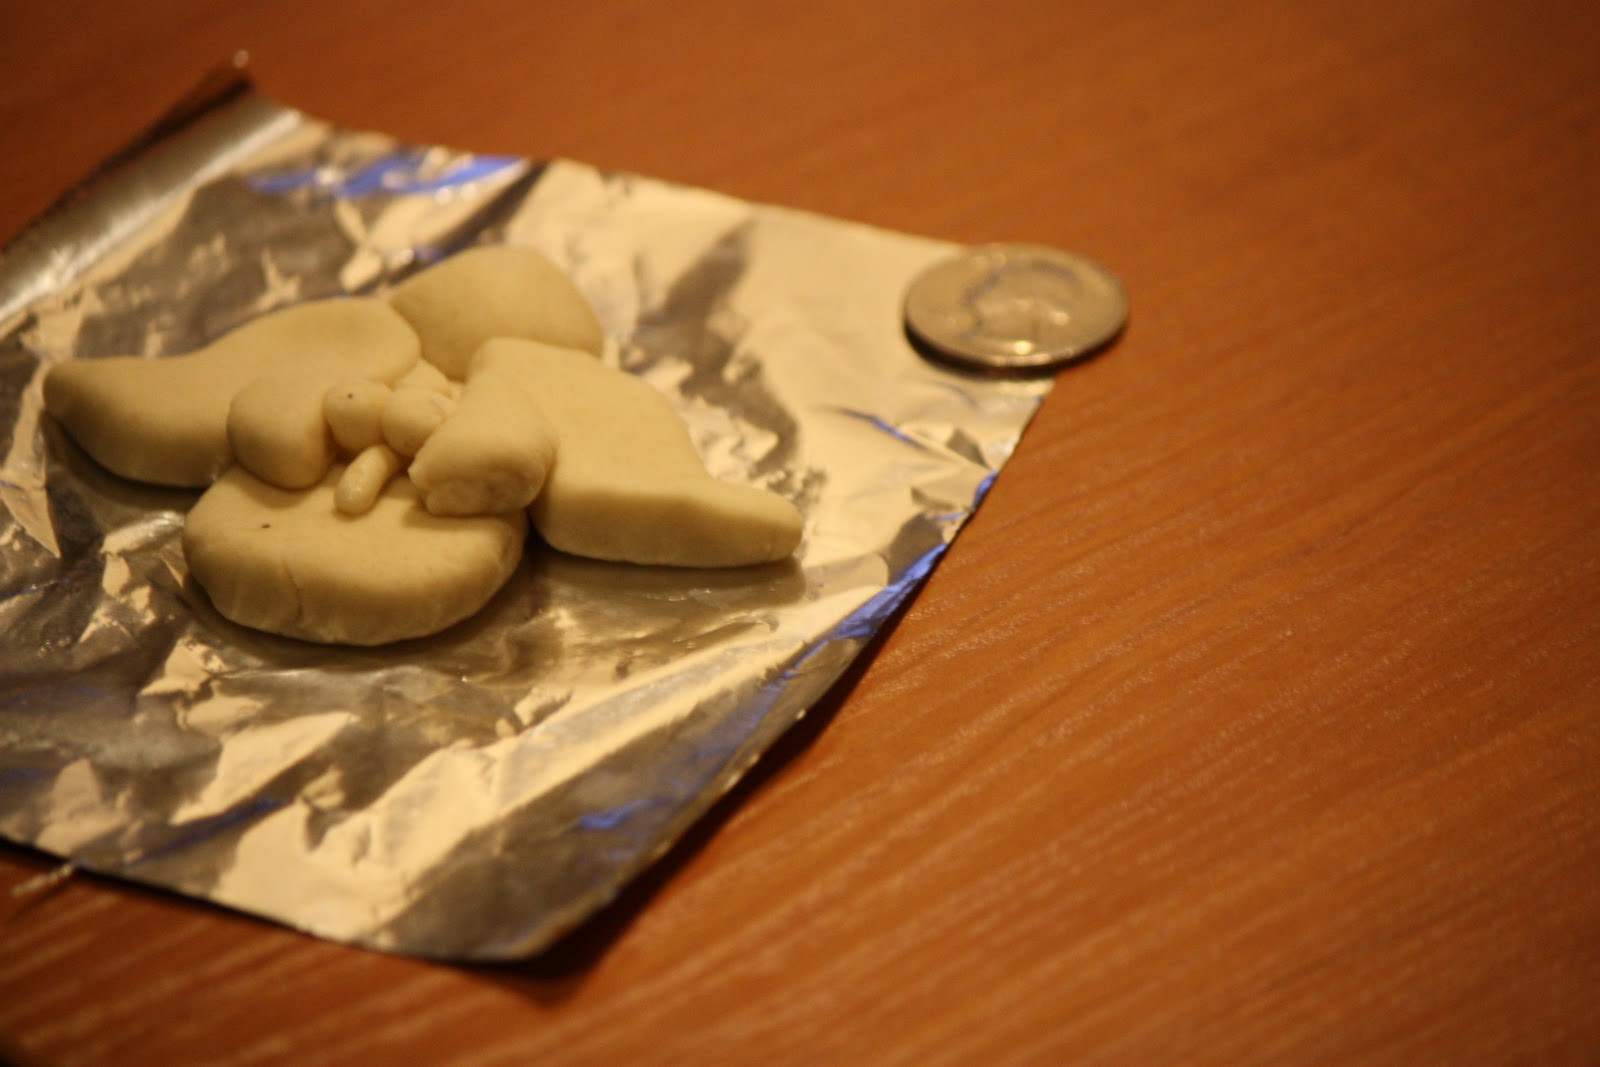
- Use a small (6 inch square) piece of aluminum foil as your assembly/baking tray for your ornaments
- To create your personalized ornaments, analyze your design, breaking it down into individual elements, as illustrated in the angel assembly photos below
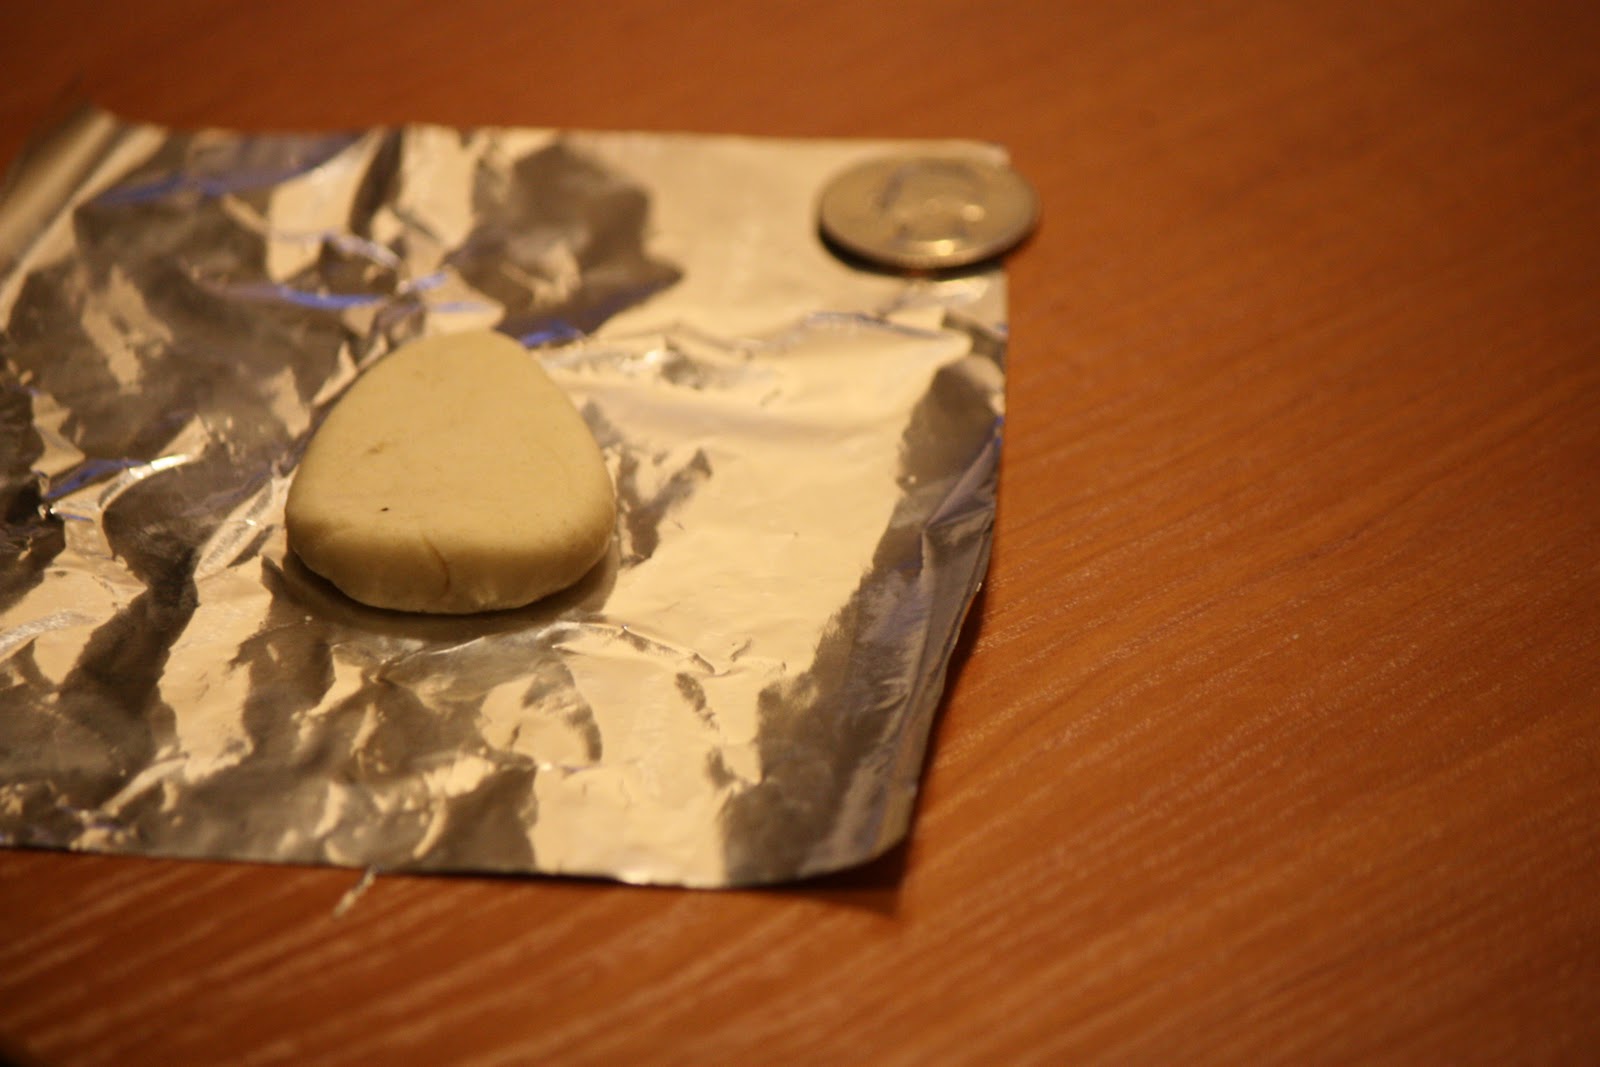
- Begin making each part of your design by rolling a little ball of the dough between the palms of your hands. This serves two purposes: it give you a smooth finish on the outside of your dough and will work out any air bubbles in your dough. You don’t want a hollow spot that would weaken the structure.
- Keep the scale of your finished piece in mind as you create the “parts.” For example, it you’re making a head that will be on a body, the head should be about the size of a nickel. If you were making just Santa’s face, the head could be as big as two inches in diameter. The “parts” should be no more than a 1/4 of an inch thick if you’ll have more than one piece on top of another. Unless it’s required by the nature of your piece, such as a teddy bear’s belly.
- Open a paper clip so that you have sort of an S shape. Using the wire cutters, cut off the top and bottom of the S, to give you two very long thin U shaped pieces of wire.
- Add a loop to the top of your ornament (to give you a place to attach a hook) by inserting the open end of the U shaped cut paper clip into the dough and pushing it in until only about 1/4 of an inch remains above the dough.
- Fill a cookie sheet with your ornaments on foil and bake at 200 F or 100 C for about an hour; it may take much longer. The dough will become lighter as it dries out. You want it to be dry, but not burnt.
 |
| the ball of dough is made into a cone shape and then flattened for the body |
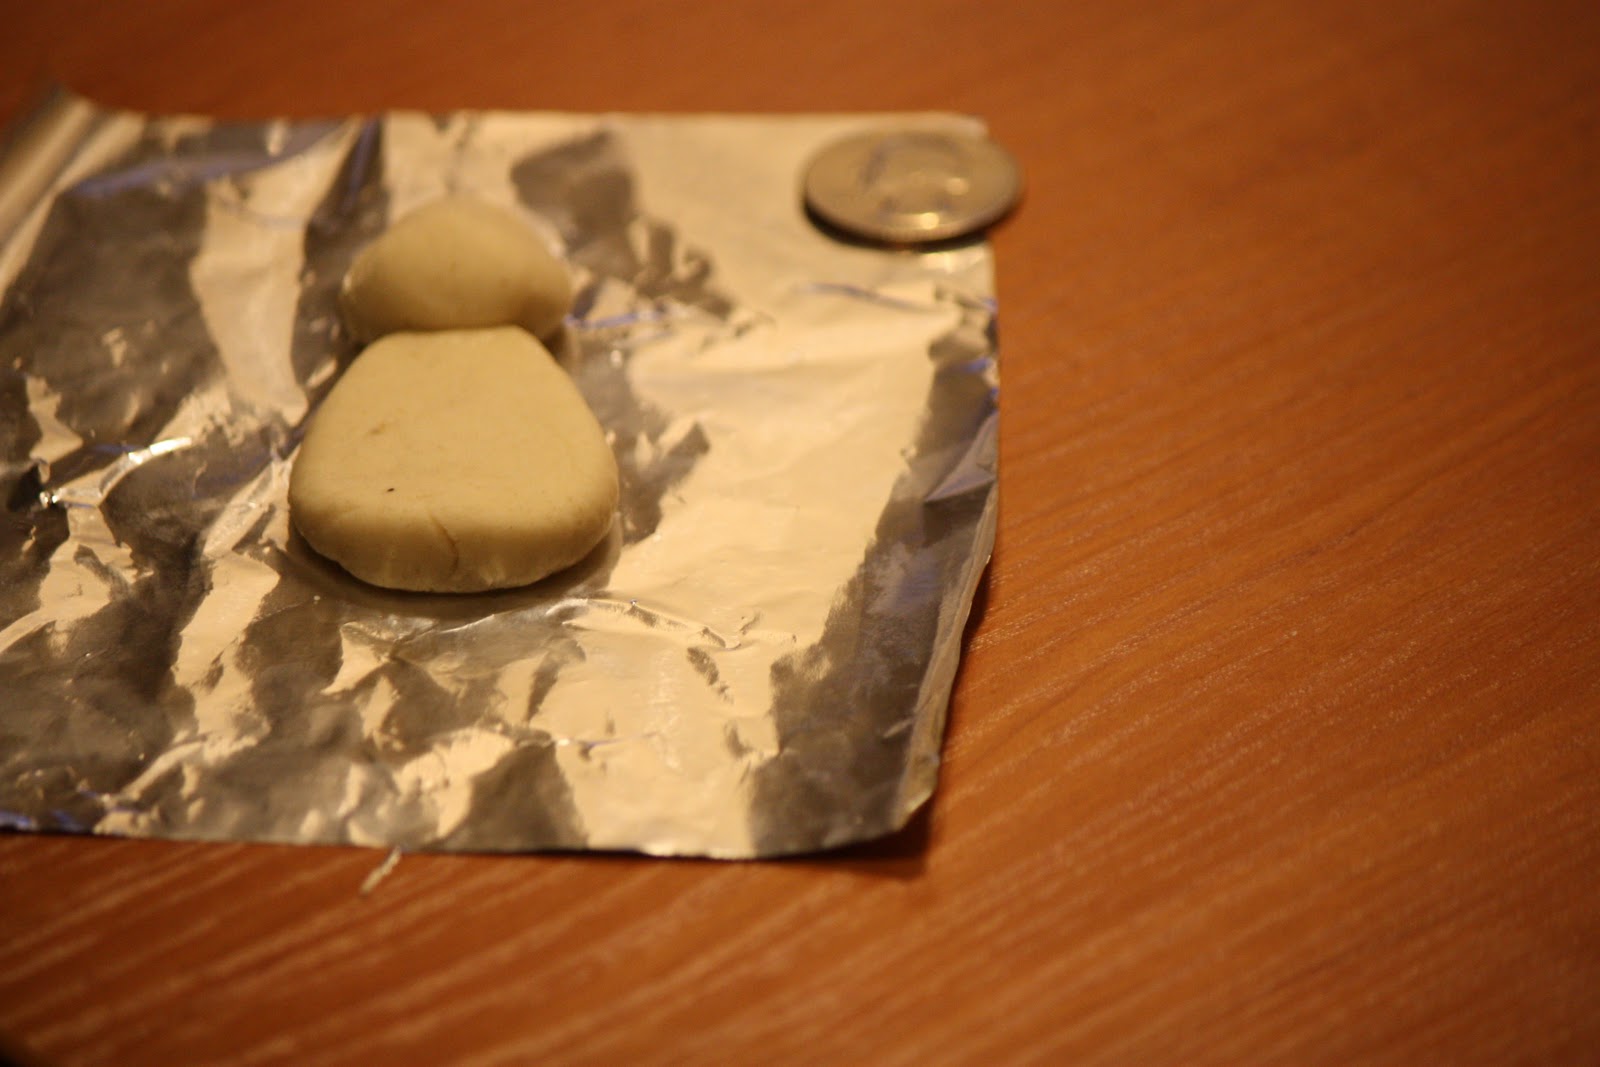 |
| a smaller ball is flattened and attached to the top of the body |
 |
| cone shapes bent at the end for wings, candle added, sleeves and hands |
 |
| a little hair, made by running dough through the garlic press and inserted the wire loop into the top of the head |
 |
| texture added to hem, sleeves, and collar with a toothpick point |
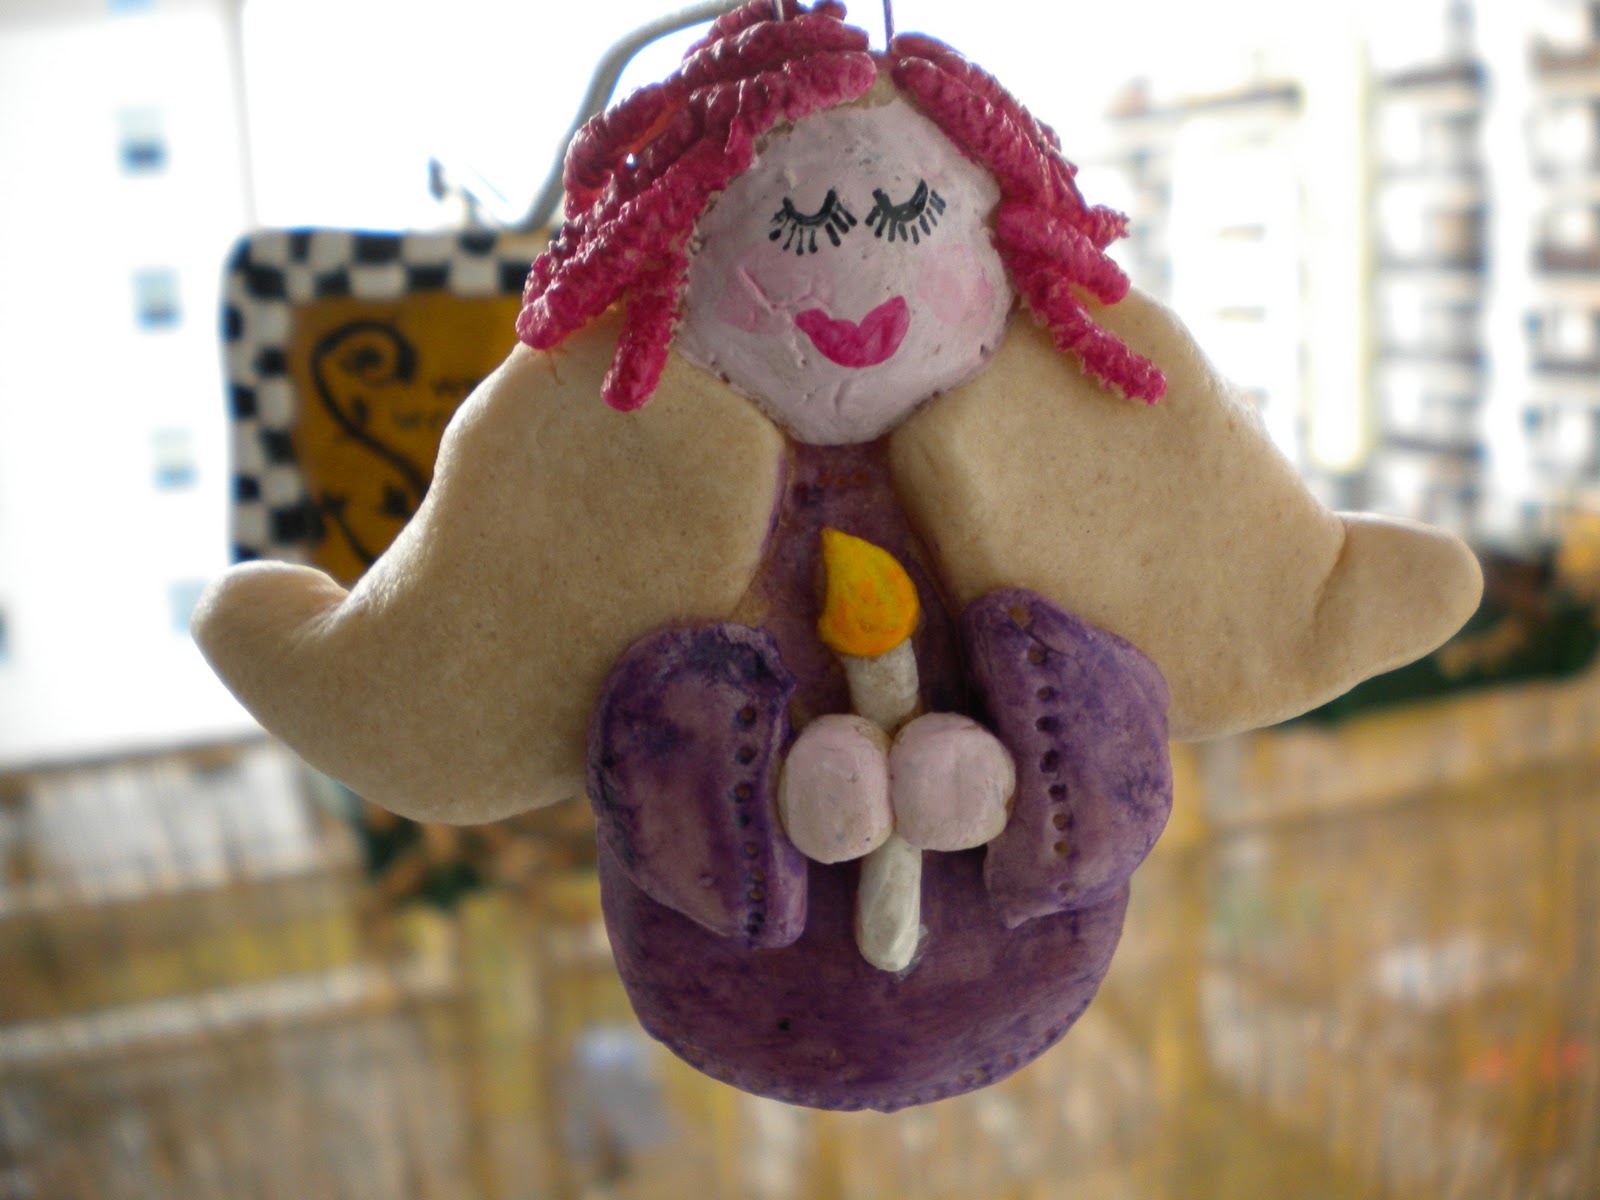 |
| The finished product |
- to finish the ornaments:
- After the ornaments have cooled, paint with water colors. I use the kind that comes in a tube (especially for the very necessary white) or a tray of kid’s watercolors. If borrowing the kid’s watercolors, you’ll want them to be very thick, so let a few drops of water sit on each disk of paint for a few minutes before starting.
- After the paint has dried, lightly spray with a clear sealant. For best results and a long life for your ornaments, repeat the spray coating at least three times.
Other examples–
 |
| Caroline’s stocking and wreath |

Coralanne Y.’s Christmas bell and candy cane
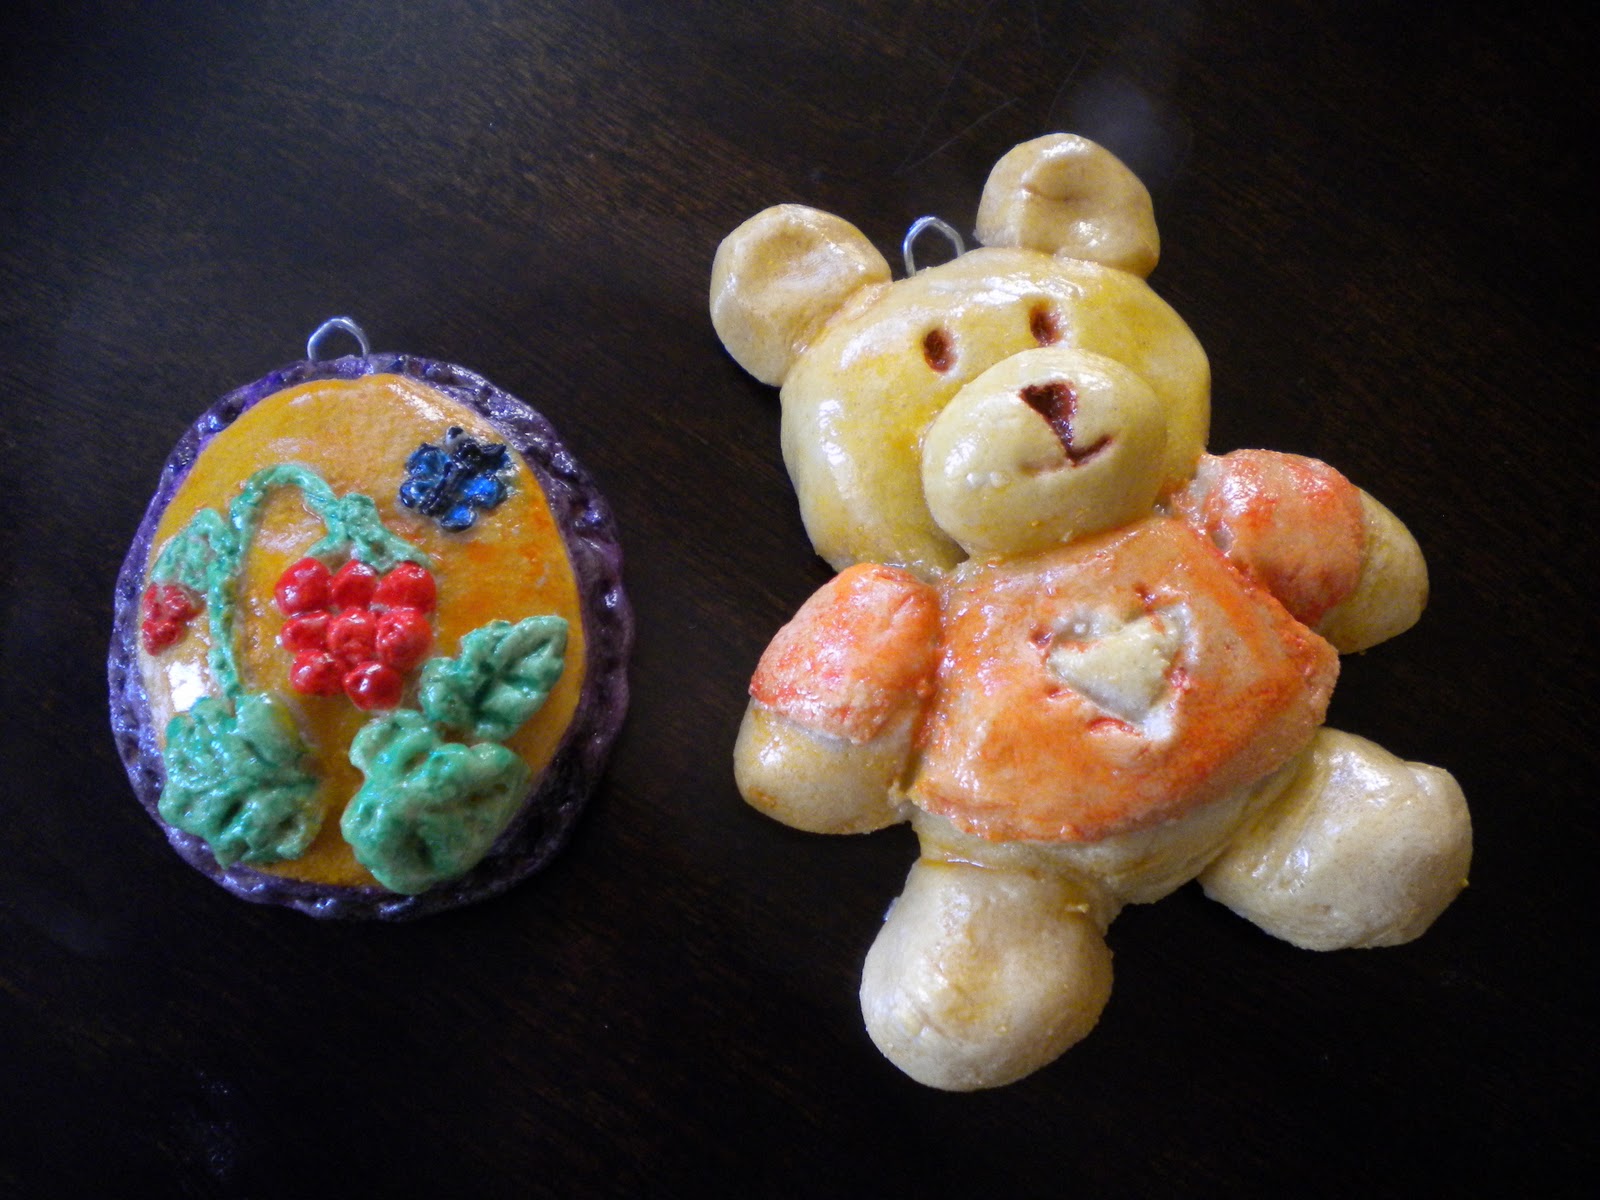 |
| Klaudia’s “brooch” and teddy bear |
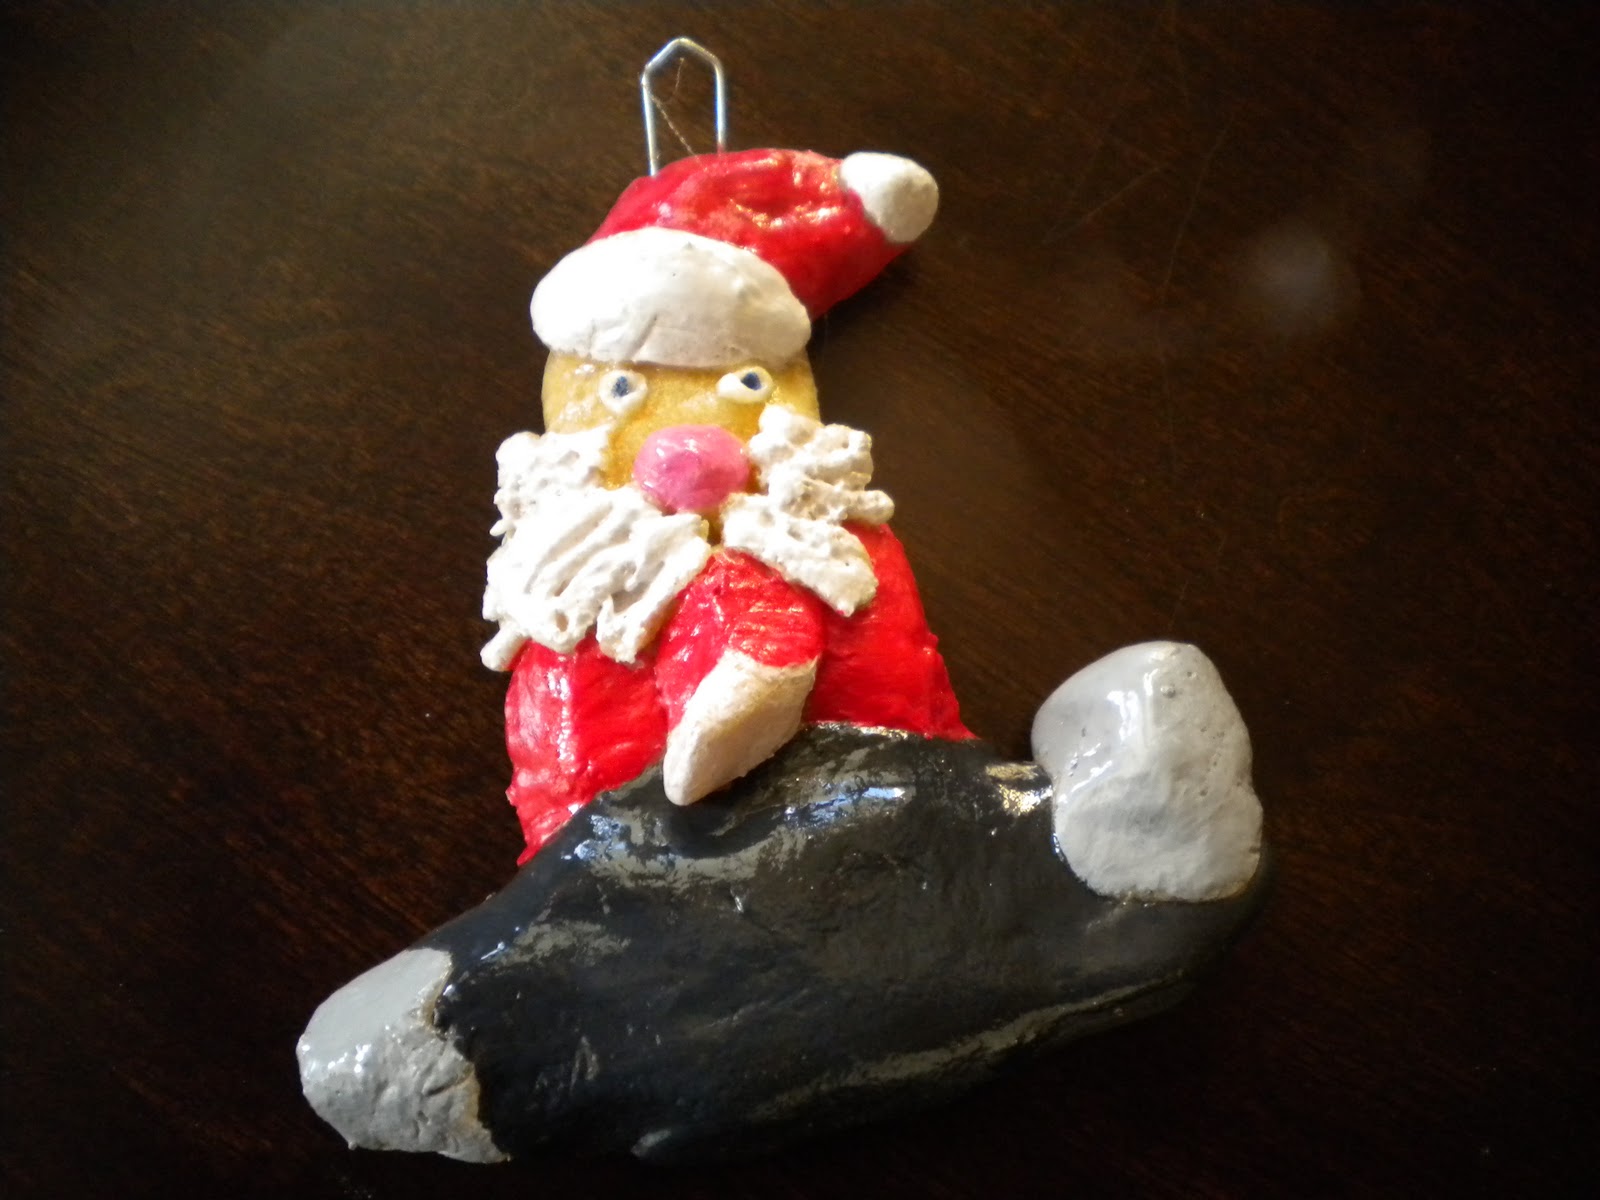 |
| Santa in a F-16 for Janet’s son the fighter pilot |
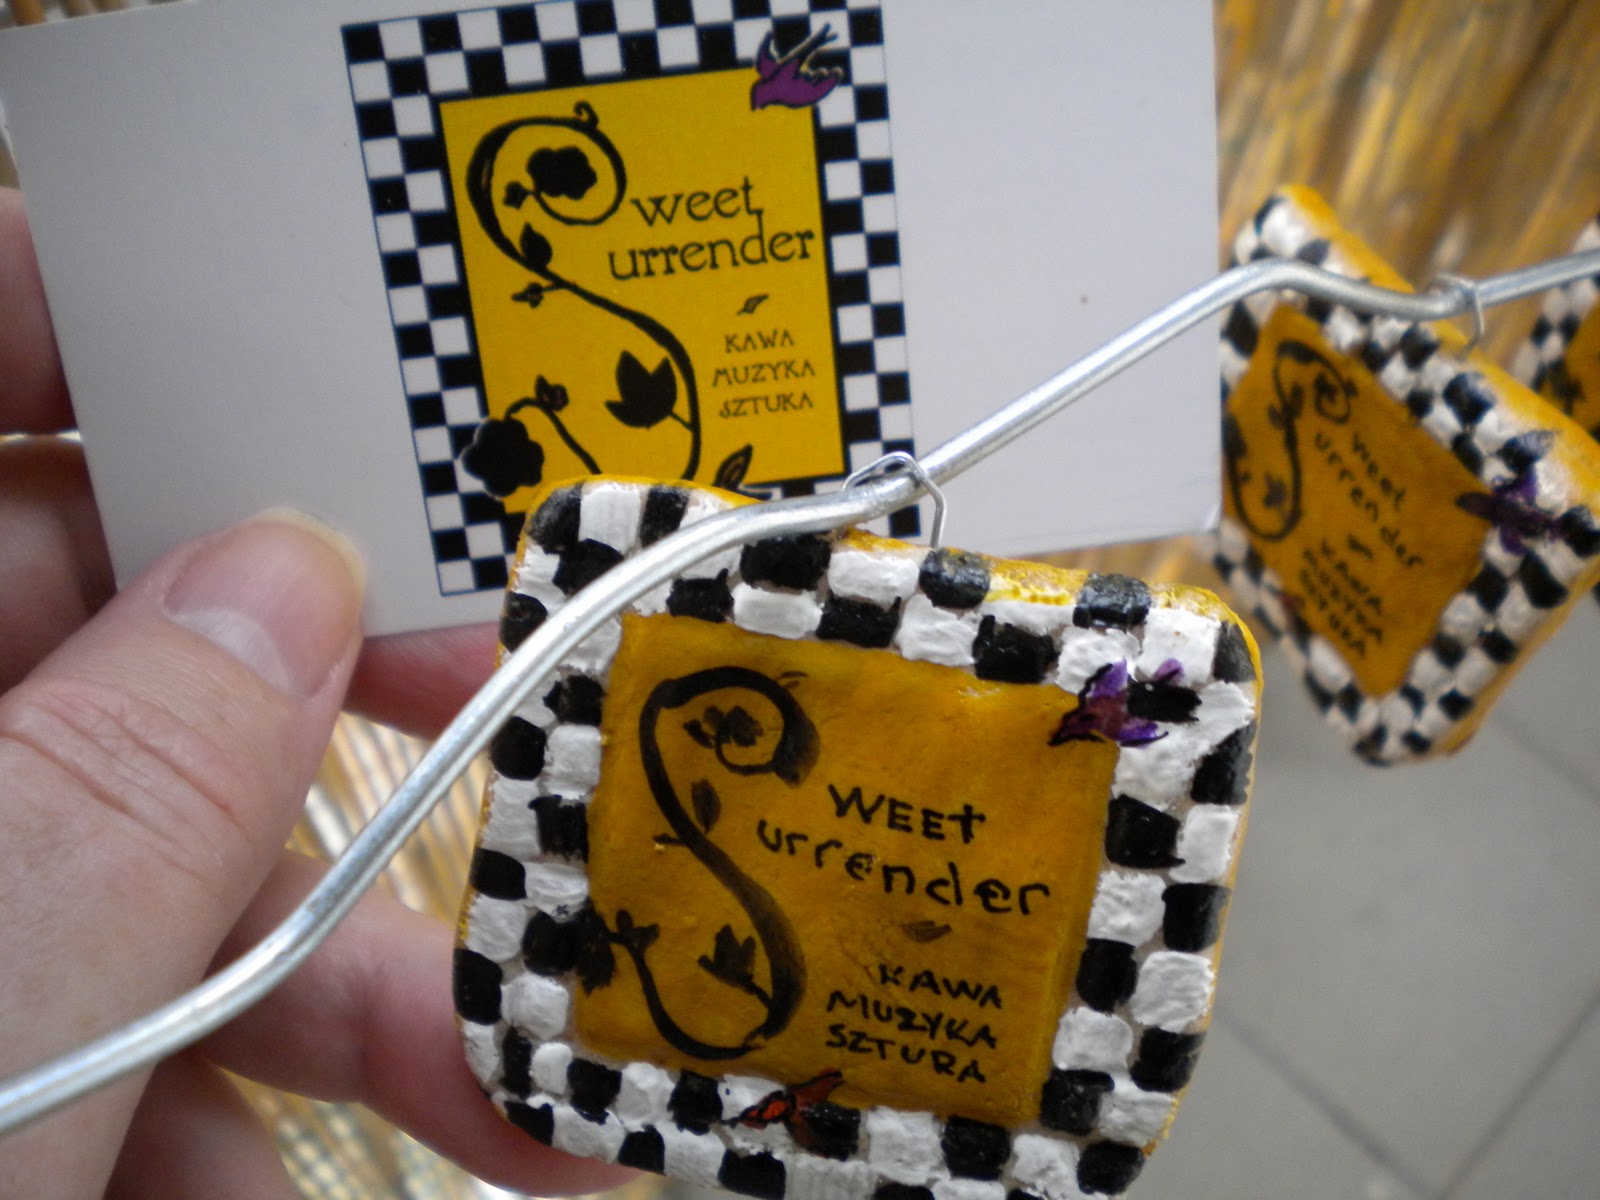 |
| For my friends at the Sweet Surrender coffee shop |
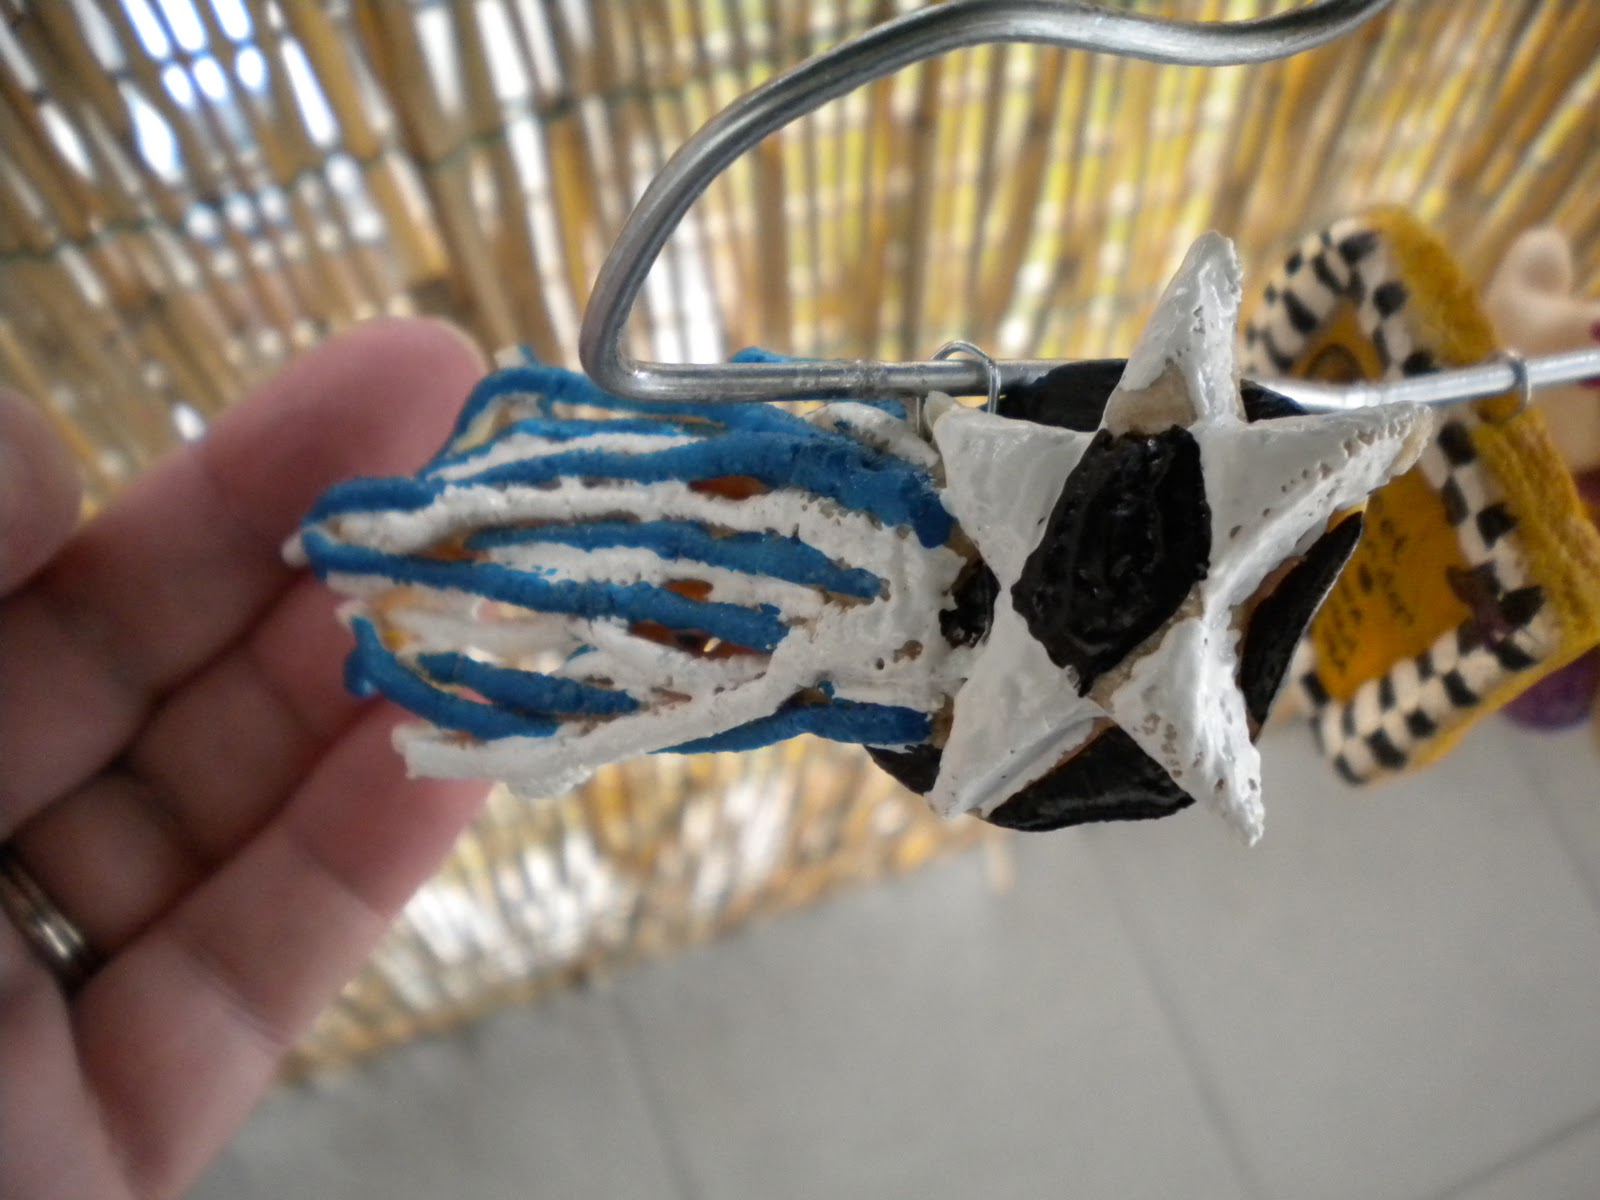 |
| Ed’s shooting star |
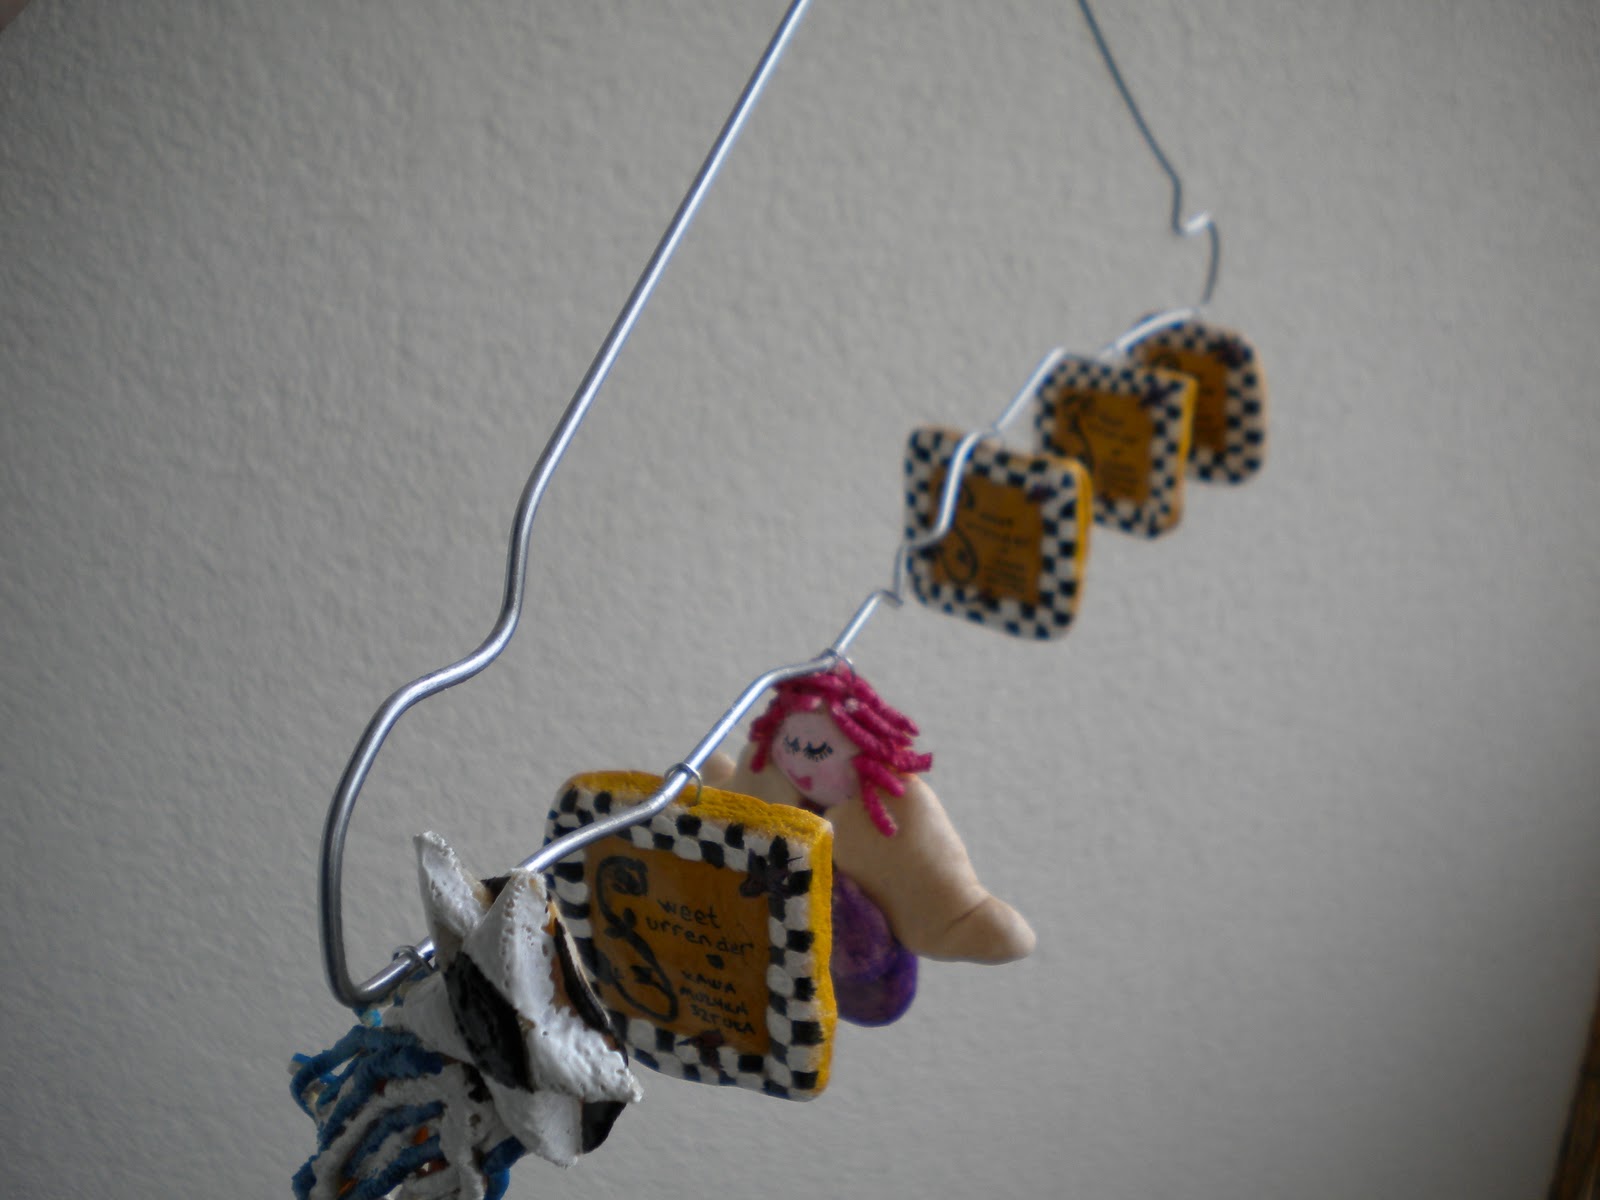 |
|||||||||||||||||||||||||||
| I opened up a wire hanger, putting ridges along the bottom to make a drying rack. It allows you to spray both sides at once. |
 |
| I had an air bubble that broke off part of Santa’s F-16 |
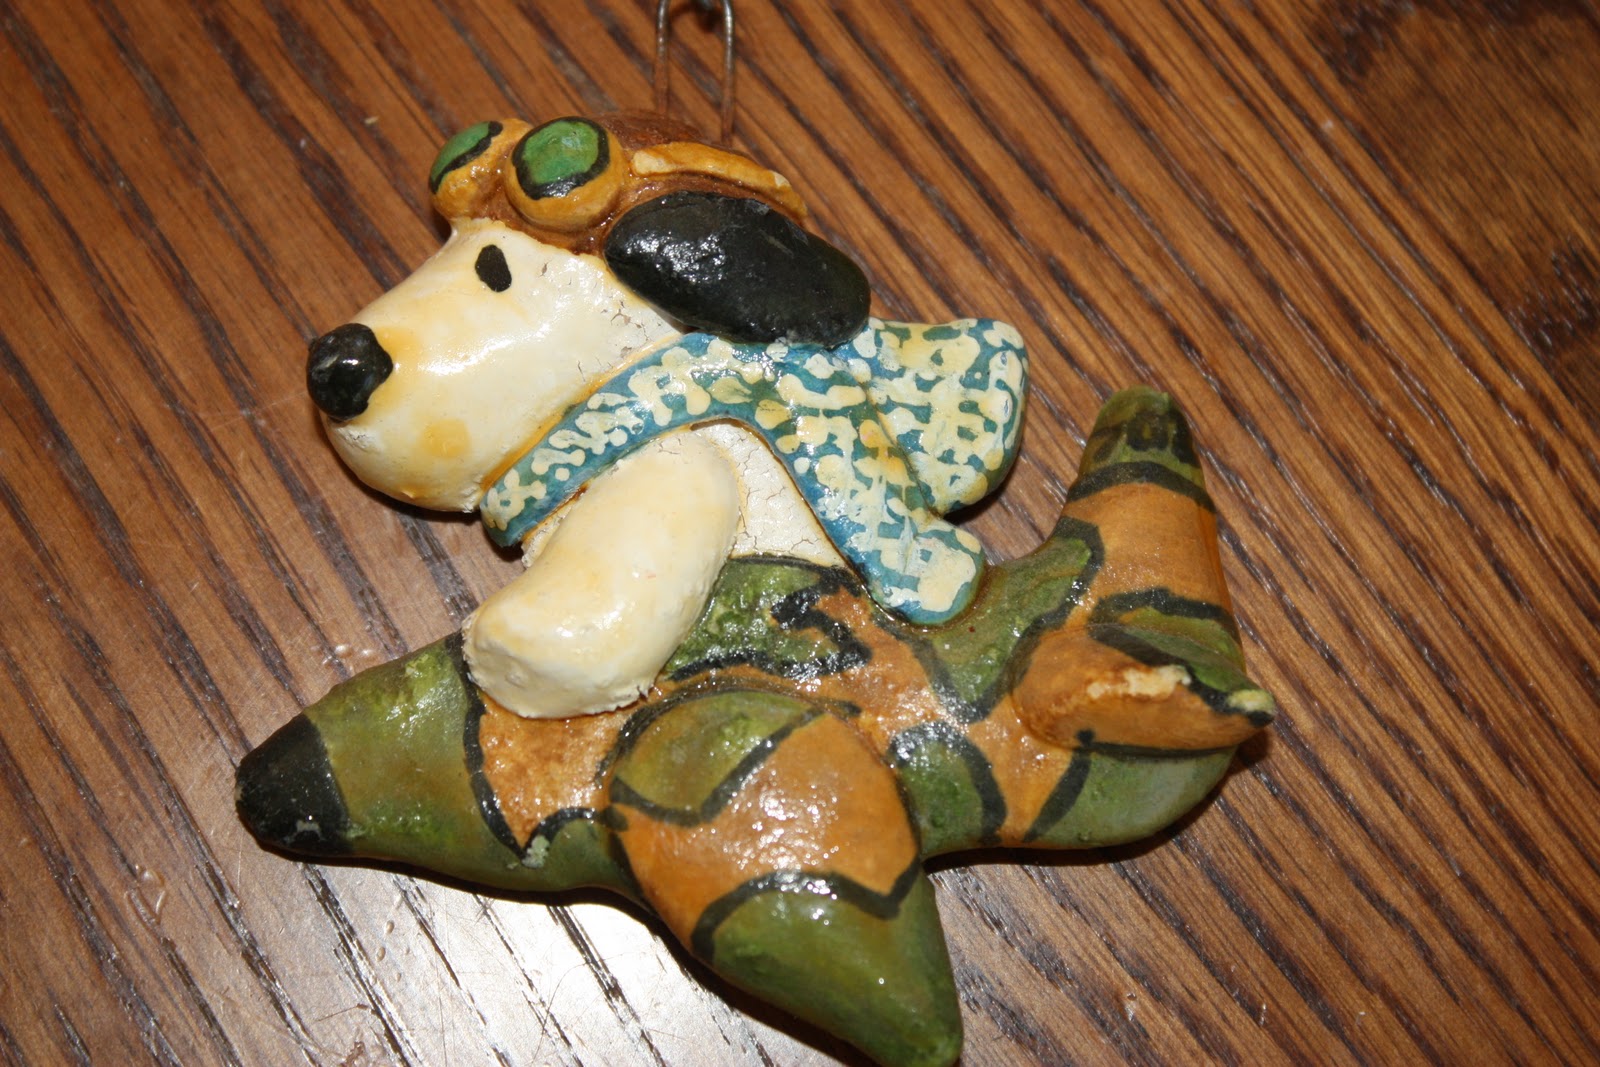 |
| My first ornament – Snoopy flying an F-4 wearing the squadron’s blue & white gingham scarf |

 |
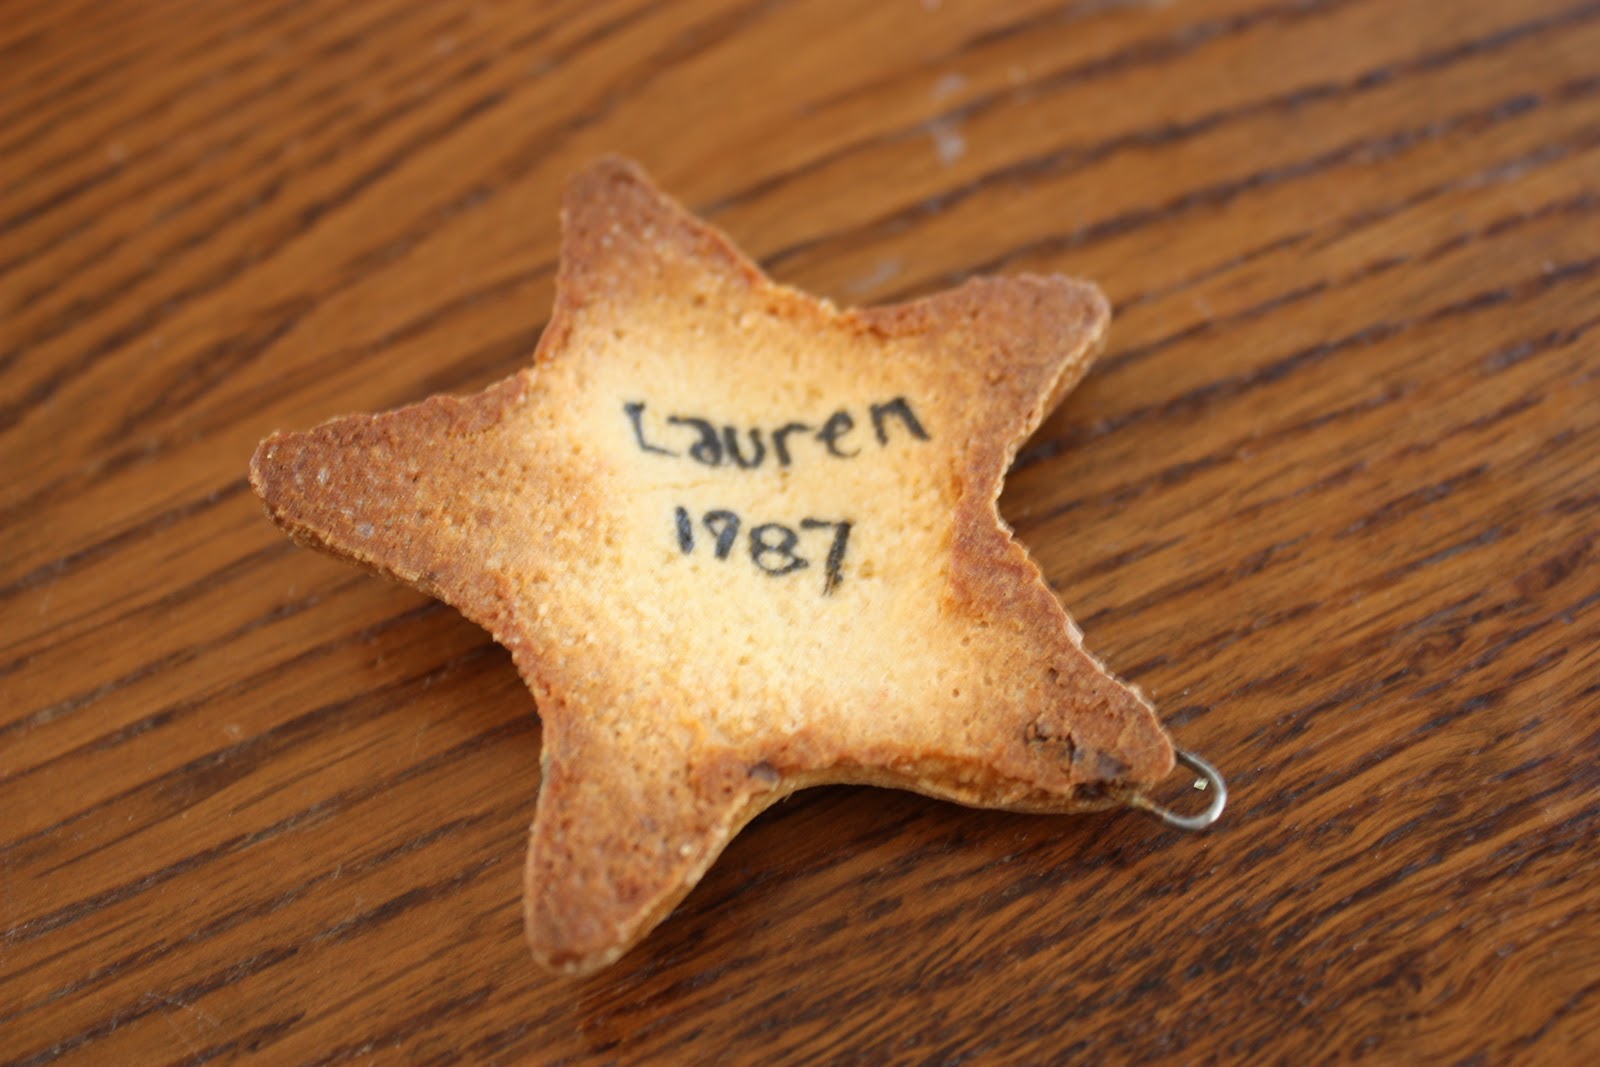
| When the girls were very young, they made some with cookie cutters |

An accountant by trade and a food blogger since 2009, Lois Britton fell in love with Polish cuisine during the years she lived in Poznań, Poland. As the creator of PolishHousewife.com, she loves connecting readers with traditional Polish recipes. Lois has a graduate certificate in Food Writing and Photography from the University of South Florida. She is the author of The Polish Housewife Cookbook, available on Amazon and on her website.


Lois B
There are a lot of dogs in our extended family. I think they all have their own ornament – a puffy 3D dog bone shape with the name spelled out (use the garlic press to get long straight bits to make letters) on the bone with a bit of holly. We leave the bone unpainted and paint the name (in red or green) and the holly.
Caroline
Thanks for hosting this for us – It was so much fun!!
Vicki
These are utterly charming! What a fun holiday activity. So glad you posted.
Lois B
Caroline – my pleasure!
Vicki- I think you and your granddaughters would have fun with this. Let me know how they turn out if you make them.
Jennifer
I love them! How creative!